Hi friends. Looking to try your hand at bottle painting? Well, you’re in the right place! As a self-proclaimed expert in all things arts and crafts, let me guide you through the basics. First, gather your supplies: bottles, acrylic paints, brushes, and a palette. Next, prepare the bottles by cleaning and drying them thoroughly. Now, let your creativity flow and start painting! Experiment with different techniques, colors, and designs. Don’t forget to let each layer dry before adding the next. And voila! You’ve just created your own masterpiece. So go ahead, unleash your inner artist and have fun.
Looking to explore your creative side? Bottle painting might just be the perfect hobby for you. Whether you’re a complete beginner or have some artistic experience, Bottle Painting 101: A Guide for Beginners has got you covered. Get ready to unleash your creativity and transform ordinary bottles into stunning works of art!
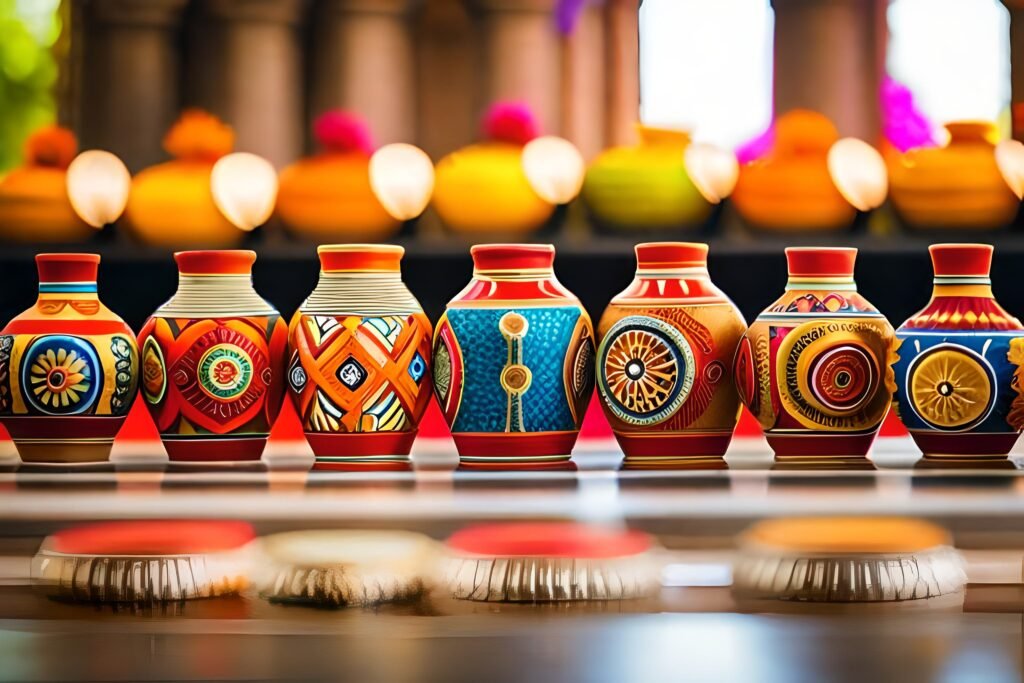
Bottle painting is not only a fun and satisfying activity, but it also allows you to give new life to old bottles that would otherwise be thrown away. Did you know that the tradition of painting bottles dates back thousands of years? Ancient civilizations used painted bottles for various purposes, such as storage, decoration, and religious rituals. Today, bottle painting has evolved into a popular craft that offers endless possibilities for self-expression and artistic exploration.
Getting Started with Bottle Painting
Are you looking to explore your creativity and create beautiful decorative items? Bottle painting is a wonderful art form that allows you to transform ordinary glass bottles into stunning pieces of art. Whether you’re a beginner or have some experience with painting, this guide will provide you with the fundamental knowledge and techniques to get started with bottle painting. From choosing the right materials to mastering different painting techniques, you’ll be well-equipped to begin your journey into this exciting art form.
Materials You’ll Need
Before you begin your bottle painting journey, it’s important to gather the necessary materials. Here are the basic supplies you’ll need:
- Glass bottles: Choose bottles in various shapes and sizes. Make sure they are clean and free of any stickers or labels.
- Acrylic paints: These are ideal for bottle painting as they adhere well to glass surfaces. Invest in a variety of colors to unleash your creativity.
- Paintbrushes: Get a set of different brush sizes to create various brushstrokes and details.
- Palette: Use a palette or a plastic plate to mix your paints.
- Water container and rag: Keep a container of water nearby to clean your brushes, and have a rag or paper towels on hand for blotting.
- Painter’s tape: This will come in handy if you want to create clean lines or protect certain areas of the bottle.
- Sealer: A sealant or varnish will protect your painted design and give it a finished look.
Once you have these materials ready, you can proceed to the next steps of preparing your bottle and selecting your design.
Preparing the Bottle
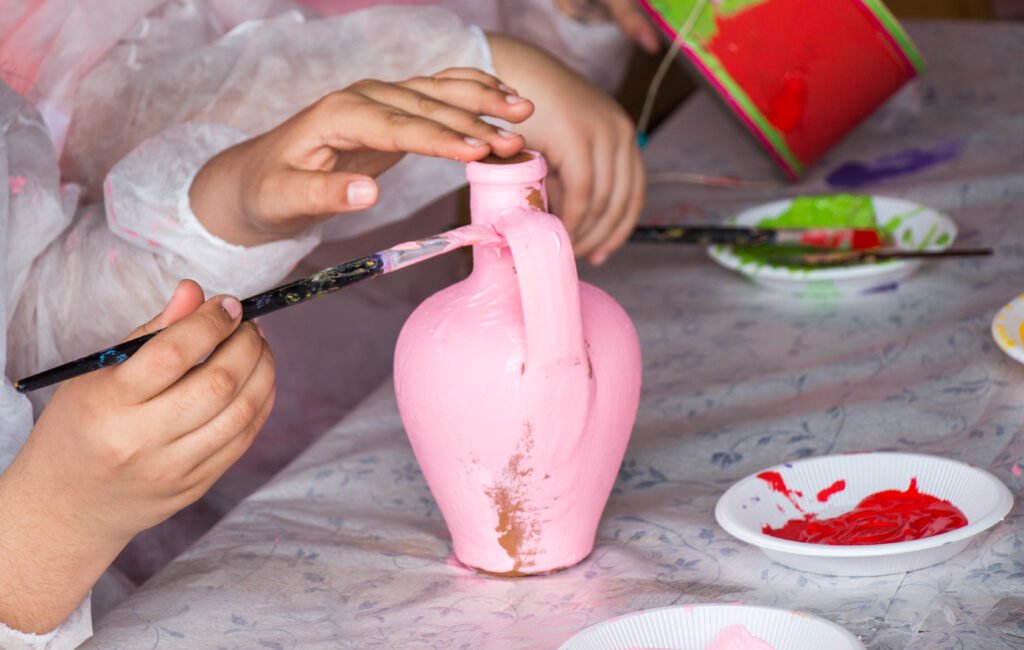
The first step in bottle painting is to prepare the bottle for painting. Follow these steps:
- Clean the bottle: Remove any dirt, dust, or labels from the bottle by washing it with soap and water. Make sure it is completely dry before painting.
- Prepare the surface: Use rubbing alcohol or glass cleaner to remove any remaining residue on the bottle. This will ensure better paint adhesion.
- Tape off areas (optional): If you want to create clean lines or protect certain areas from paint, use painter’s tape to cover those sections.
By properly preparing the bottle, you’ll create a smooth surface to work on and ensure better paint adherence. Now, let’s move on to selecting a design for your bottle painting.
Choosing a Design
When it comes to bottle painting, the design possibilities are endless. Here are a few ideas to consider:
- Abstract patterns: Create unique abstract patterns using bold and vibrant colors.
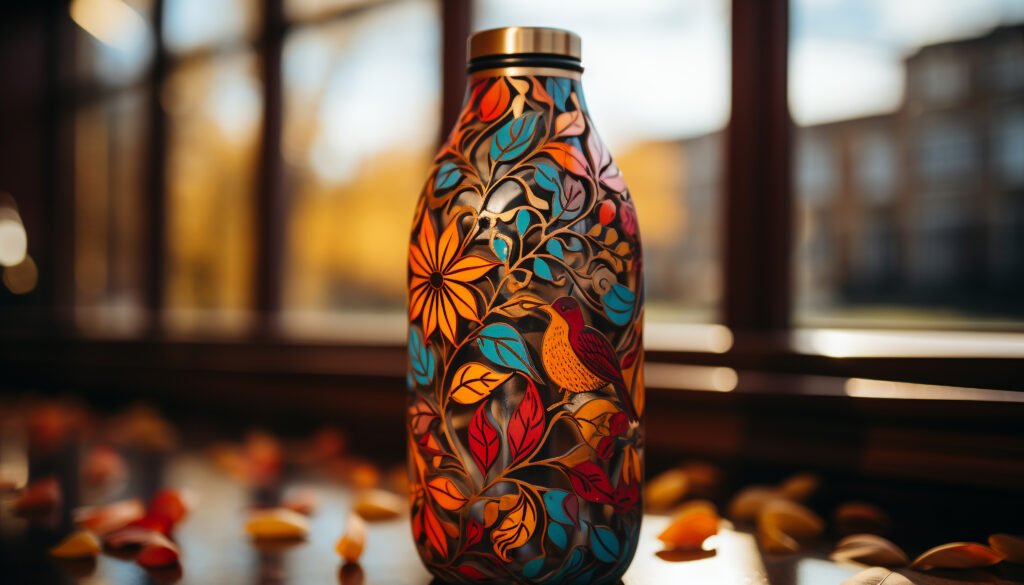
- Floral designs: Paint beautiful flowers and leaves to create an elegant and natural look.
- Landscape scenes: Depict picturesque landscapes with mountains, trees, and skies.
- Quotes or messages: Add meaningful quotes or personalized messages to your bottle.
- Animal or pet portraits: Paint your favorite animals or your beloved pets on the bottle.
Feel free to explore your own ideas and inspirations. Sketch your design on paper before starting to paint to get a better idea of how it will look on the bottle.
Techniques for Bottle Painting
Now that you have your materials ready and a design in mind, it’s time to learn some bottle painting techniques. Here are a few techniques to help you get started:
- Basic brushstroke techniques: Learn how to create different brushstrokes such as stippling, blending, dry brushing, and layering.
- Dotting: Use the end of a paintbrush or a dotting tool to create beautiful dots and patterns on the bottle.
- Masking: Apply painter’s tape or adhesive vinyl to create geometric or intricate patterns on the bottle.
- Decoupage: Cut out images or patterns from paper or napkins and adhere them to the bottle using decoupage glue or Mod Podge.
- Gradient effect: Blend different shades of the same color to create a gradient or ombre effect on the bottle.
Practice these techniques on a spare bottle or a test surface before starting your final masterpiece. Remember, bottle painting is all about experimentation and finding your unique style.
Adding Finishing Touches
After you have completed your painting, it’s important to add finishing touches to protect your artwork and enhance its appearance. Follow these steps:
- Let the paint dry: Allow the paint to fully dry before applying any sealant or varnish.
- Apply sealant: Use a brush to apply a clear sealant or varnish over the painted surface of the bottle. This will protect the design and give it a glossy finish.
- Additional embellishments (optional): If you want to add extra details, you can attach beads, ribbons, or other decorative elements using glue.
Once the sealant has dried, your bottle painting is complete. Display your artwork proudly or give it as a personalized gift to someone special.
Exploring Different Techniques and Styles
Now that you have a good understanding of the basics of bottle painting, it’s time to explore different techniques and styles to take your art to new heights. Here are a few aspects you can delve into:
Experimenting with Different Painting Mediums
While acrylic paints are commonly used for bottle painting, don’t limit yourself to just one medium. Explore other painting mediums like glass paints or enamel paints to achieve different effects and textures. Each medium has its own unique properties and can open up a world of possibilities for your bottle painting.
Creating Texture with Mixed Media
If you want to add more dimension to your bottle painting, try incorporating mixed media elements. You can use textured papers, fabric, string, or even small embellishments like beads or sequins to create an interesting and tactile surface. Mixed media techniques can add depth and visual interest to your bottle art.
Exploring Different Bottle Shapes
Expand your bottle painting skills by experimenting with various bottle shapes. Instead of just painting traditional glass bottles, try painting wine bottles, mason jars, or even uniquely shaped containers. Each bottle shape offers a different canvas to work on and can inspire new design ideas.
Incorporating Stencils and Transfers
If you want to add intricate designs or patterns to your bottle painting without freehand painting, stencils and transfers are your best friends. Use pre-made stencils or create your own, and transfer the designs onto the bottle using acrylic paints or specialized transfer gels. This technique allows you to achieve precise and detailed designs effortlessly.
For bottle painting ideas – read this.
Advanced Techniques for Bottle Painting
If you’re ready to challenge yourself and take your bottle painting skills to the next level, here are a few advanced techniques you can explore:
- Airbrushing: Use an airbrush system to create smooth gradients and intricate designs on your bottles.
- Gilding: Apply gold leaf or metallic flakes to add a touch of luxury to your bottle painting.
- Reverse glass painting: Paint on the inside of the bottle to create a unique and mesmerizing effect.
- Etching: Use etching cream or a glass etching tool to create elegant frosted designs on your bottles.
These advanced techniques require more specialized tools and materials, but they can produce truly stunning results. Don’t be afraid to step out of your comfort zone and experiment with these techniques as you continue to grow as a bottle painter.
In Conclusion
As you can see, bottle painting is a versatile and rewarding art form that allows you to unleash your creativity and transform ordinary glass bottles into unique pieces of art. By following this guide and exploring different techniques and styles, you’ll continue to develop your skills and create beautiful works of art.
Bottle Painting 101: A Guide for Beginners
Hi there! If you’re new to bottle painting and want to learn the basics, you’ve come to the right place. In this guide, I’ll share some tips and techniques to help you get started on your bottle painting journey.
First, gather your supplies. You’ll need clean glass bottles, acrylic paints, paintbrushes, and a sealant to protect your artwork. I recommend starting with small bottles to practice your skills.
Next, prepare your bottles by washing them thoroughly and removing any labels. Once dry, you can apply a coat of primer to create an even surface for painting.
When it comes to painting, start with simple designs and patterns. You can use stencils or freehand your designs. Remember to let each layer of paint dry before adding another to avoid smudging.
Experiment with different techniques like blending colors, adding texture, or using masking tape for crisp lines. Don’t be afraid to make mistakes—it’s all part of the learning process!
Finally, once you’re happy with your design, seal the bottle with a clear sealant to protect the paint from chipping or fading. Allow the sealant to dry completely before displaying or using the painted bottles.
Remember, bottle painting is a creative and relaxing hobby. Enjoy the process, try new ideas, and let your imagination run wild. Happy painting!
Frequently Asked Questions
Are you a beginner in the world of bottle painting? Don’t worry, I’ve got you covered! Here are some common questions beginners have about bottle painting, along with helpful answers to get you started.
1. How do I prepare a bottle for painting?
Before you start painting, it’s important to prepare the bottle properly. First, make sure the bottle is clean and free from any dust or residue. You can wash it with warm soapy water and dry it thoroughly. Next, you may want to prime the bottle with a coat of white acrylic paint to create a smooth surface for your artwork. Finally, you can lightly sand the bottle with fine-grit sandpaper to improve paint adhesion. Once the bottle is prepped, you’re ready to start painting!
Remember, proper preparation is the key to a successful painting, so don’t skip this step!
2. What type of paint should I use for bottle painting?
When it comes to bottle painting, acrylic paints are the most commonly used. They are versatile, easy to work with, and provide vibrant colors. Make sure to choose paints that are specifically formulated for glass or multi-surface use, as they will adhere better to the smooth surface of the bottle. Additionally, you can consider using glass paints or enamel paints for a more professional finish. Experiment with different types of paints to find the one that suits your style and preferences.
Don’t forget to use a good-quality paintbrush that is suitable for the type of paint you’re using!
3. Can I paint on any type of bottle?
In theory, you can paint on any type of bottle. However, keep in mind that the material of the bottle may affect the adhesion and durability of the paint. Glass bottles are the most commonly used for painting, as they provide a smooth surface and are easy to work with. Plastic bottles can also be painted, but you may need to use a primer or special paints designed for plastic. If you’re unsure, it’s always a good idea to test the paint on a small, inconspicuous area of the bottle before painting the entire surface.
Remember, the possibilities are endless, so feel free to explore and get creative with different types of bottles!
4. How do I seal my painted bottle?
Once you’ve finished painting your bottle, you may want to seal it to protect the artwork and ensure its durability. There are several options for sealing a painted bottle, including using a clear acrylic sealer spray or applying a coat of varnish. Both options provide a protective layer and help prevent the paint from chipping or peeling. Make sure to follow the instructions on the sealer or varnish product for the best results. Allow the sealed bottle to dry completely before handling or displaying it.
Sealing your bottle will not only enhance its appearance but also make it more resistant to wear and tear.
5. Can I use stencils or templates for bottle painting?
Absolutely! Stencils and templates can be a great tool, especially for beginners. They help create precise designs and patterns on your painted bottle. You can find pre-made stencils in various shapes and sizes, or you can even create your own custom stencils using stencil sheets. Simply place the stencil on the bottle and apply the paint using a brush or sponge. Remove the stencil carefully, and voila! You’ll have a beautifully detailed design on your bottle. Stencils and templates are a fantastic way to add complexity and wow factor to your bottle painting projects!
Remember to have fun and experiment with different stencil designs to unleash your creativity!
So there you have it, folks! Bottle painting can be a fun and creative activity for beginners. With the right tools, a little bit of practice, and your own unique ideas, you can turn ordinary bottles into beautiful works of art.
Remember to clean your bottles thoroughly before painting, use acrylic or glass paints for best results, and don’t be afraid to experiment with different techniques and designs. And most importantly, have fun and enjoy the process!
