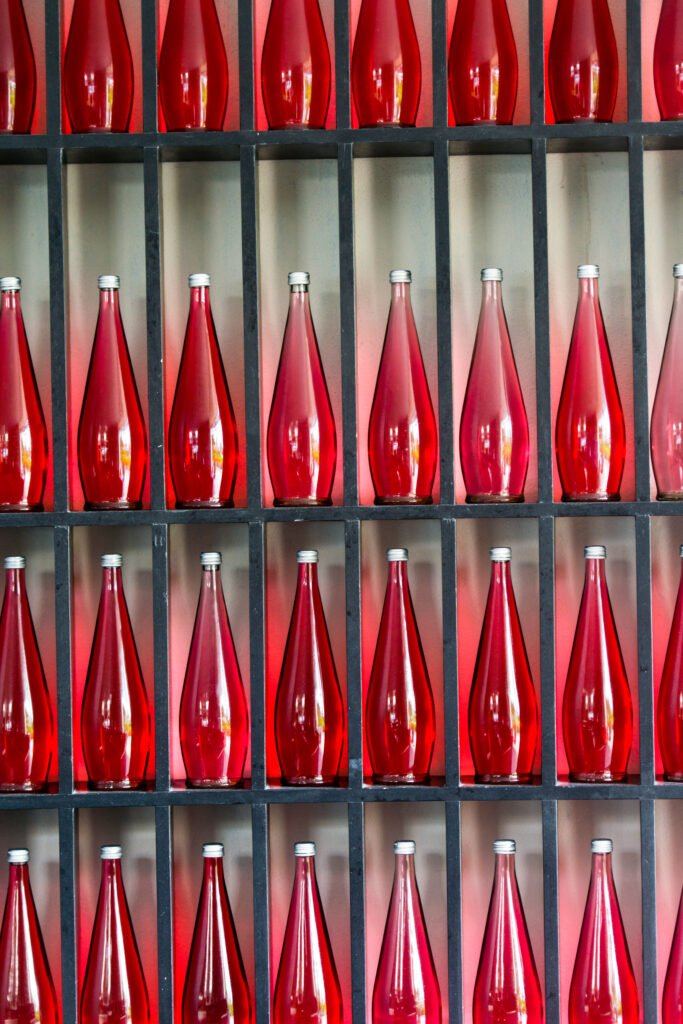
Looking to add some unique flair to your outdoor space? Consider building a DIY bottle wall! It’s not only a fun and creative project, but it also offers a sustainable way to repurpose and recycle glass bottles. Plus, the end result is a stunning and eye-catching outdoor decor piece that will surely impress your guests.
Building a DIY bottle wall is a great way to incorporate art and sustainability into your outdoor space. By repurposing glass bottles, you’re diverting them from landfills and giving them a new life. Did you know that the average person generates over 4 pounds of trash per day? Taking on projects like a bottle wall can help reduce waste and make a positive impact on the environment. So gather those empty bottles and let your creativity run wild!
Looking to add some creativity to your outdoor space? Let me show you how to build a spectacular DIY bottle wall that will make your neighbors jealous. Gather an assortment of colorful glass bottles, clean them thoroughly, and arrange them in a pattern that suits your style. Use a strong adhesive to secure them together, and voila! You have a unique and eye-catching outdoor decor piece that will bring whimsy and charm to your backyard. Trust me, it’s easier than it looks.
The Beauty of a Bottle Wall: Creative Outdoor Decor
When it comes to creative outdoor decor, building a DIY bottle wall is a unique and visually stunning project that can transform any outdoor space. This innovative design feature utilizes recycled glass bottles to create a colorful and eco-friendly wall that adds charm and personality to your garden or patio. Not only does it provide a striking visual element, but it also serves as a sustainable way to repurpose materials that might otherwise end up in a landfill.
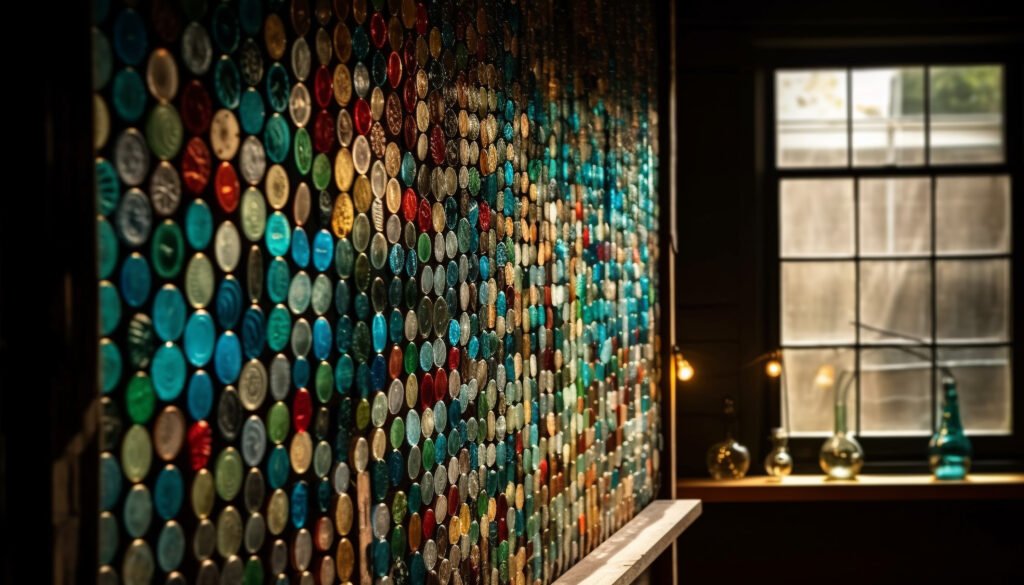
Building a bottle wall involves arranging glass bottles vertically and securing them in place with mortar or a similar adhesive. The result is a beautiful mosaic of brilliant colors that catches the sunlight and creates a mesmerizing effect. It’s a versatile and customizable design that allows you to experiment with different bottle sizes, shapes, and colors to achieve the desired aesthetic.
In this article, we will explore the process of building a DIY bottle wall, including the materials and tools needed, the step-by-step construction process, and various design ideas to inspire your own project. Whether you’re a seasoned DIY enthusiast or just starting out, creating a bottle wall is a rewarding and creative endeavor that will surely enhance your outdoor living space.
Materials and Tools
Before you start building your bottle wall, gather the necessary materials and tools. Here are the key items you will need:
- Glass bottles: Collect a sufficient number of glass bottles in various colors and sizes. Wine bottles, beer bottles, and soda bottles can all be used.
- Mortar or adhesive: Choose a high-quality mortar or adhesive specifically designed for outdoor use. It should be waterproof and weather-resistant.
- Trowel: A trowel will be used to apply the mortar or adhesive to secure the bottles in place.
- Grout: Grout is used to fill the gaps between the bottles and provide a finished look. Opt for a grout color that complements the overall design.
- Support structure: Depending on the size and height of your bottle wall, you may need a support structure such as a wooden frame or metal brackets.
- Protective gear: Wear gloves and safety goggles to protect yourself during the construction process.
Once you have gathered these materials, you are ready to start building your DIY bottle wall.
Step 1: Prepare the Surface
Before you begin the construction process, ensure that the surface where you plan to build the bottle wall is clean, level, and structurally sound. This can be a wall, a fence, or any other vertical surface. Remove any obstacles or debris that may interfere with the construction.
If you’re building a freestanding bottle wall, you will need to prepare a stable foundation. Dig a trench where the wall will be placed and fill it with a layer of gravel or crushed stone for drainage. Compact the base to create a stable surface.
Additionally, if you choose to use a support structure, make sure it is securely installed and able to bear the weight of the bottle wall.
Step 2: Arrange and Secure the Bottles
The next step is to arrange the bottles in the desired pattern and secure them in place. Here’s how:
1. Sort the bottles by size and color to create a cohesive design.
2. Apply the mortar or adhesive to a small section of the surface using a trowel.
3. Press the bottom of a bottle firmly into the mortar or adhesive, ensuring it is vertical and secure.
4. Repeat the process, adding bottles one by one and aligning them closely together.
5. Continue until you have covered the desired area, leaving space for grouting.
Step 3: Grout and Finish
Once the bottles are securely in place, it’s time to grout and finish the bottle wall:
1. Prepare the grout according to the manufacturer’s instructions. It should have a consistency similar to toothpaste.
2. Apply the grout to the gaps between the bottles using a grout float or a narrow trowel.
3. Smooth the grout to create an even surface, wiping off any excess with a damp sponge.
4. Allow the grout to set for the recommended time before cleaning the bottles with a soft cloth.
Design Ideas for Your Bottle Wall
A bottle wall offers endless design possibilities. Here are some ideas to inspire your own creation:
- Create a rainbow effect by arranging bottles in a gradient of colors, from warm hues at the bottom to cool tones at the top.
- Use bottles of different shapes and sizes to add visual interest and texture.
- Integrate patterns by arranging bottles in specific formations, such as spirals, waves, or mosaic-like designs.
- Add decorative elements such as seashells, marbles, or mirrors between the bottles for an extra touch of whimsy.
Remember to let your creativity shine and personalize your bottle wall to suit your style and preferences.
Creative Lighting Techniques for a Bottle Wall
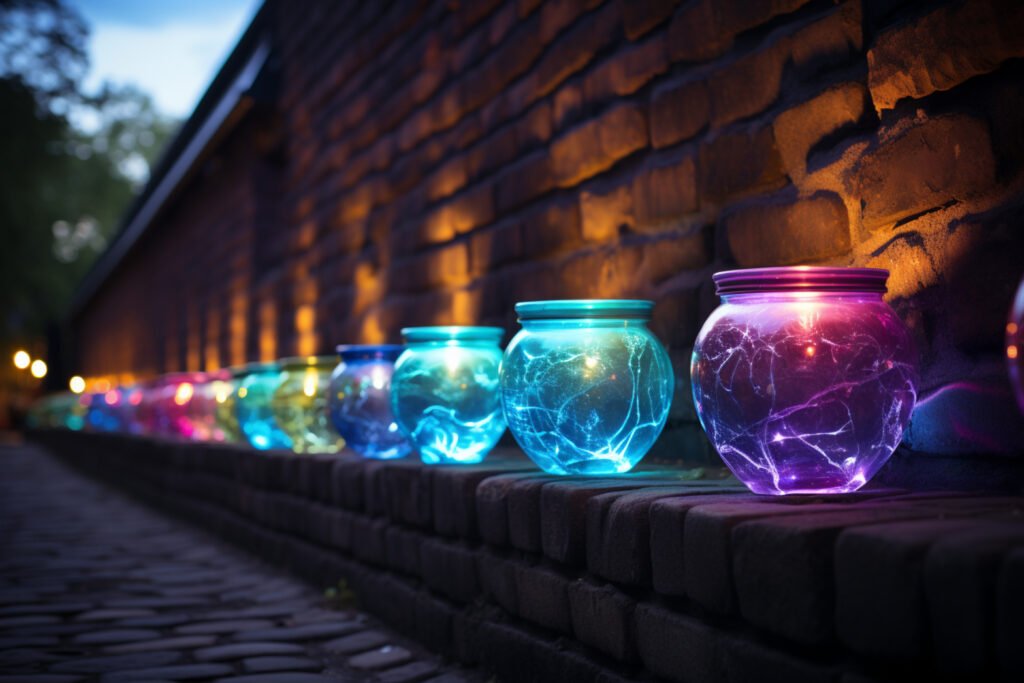
In addition to the visual appeal of a bottle wall during the day, it can also create a captivating effect at night by incorporating creative lighting techniques. Here are some ideas to illuminate and enhance your bottle wall after dark:
Solar-Powered LED Lights
Solar-powered LED lights are an eco-friendly and cost-effective way to illuminate your bottle wall. These lights can be embedded within the mortar or adhesive during the construction process, or attached to the backside of the wall to create a subtle glow. The solar panels absorb sunlight during the day, powering the lights to shine brightly at night.
Consider placing the lights strategically to highlight specific patterns or colors in your bottle wall, creating a mesmerizing display of light and glass.
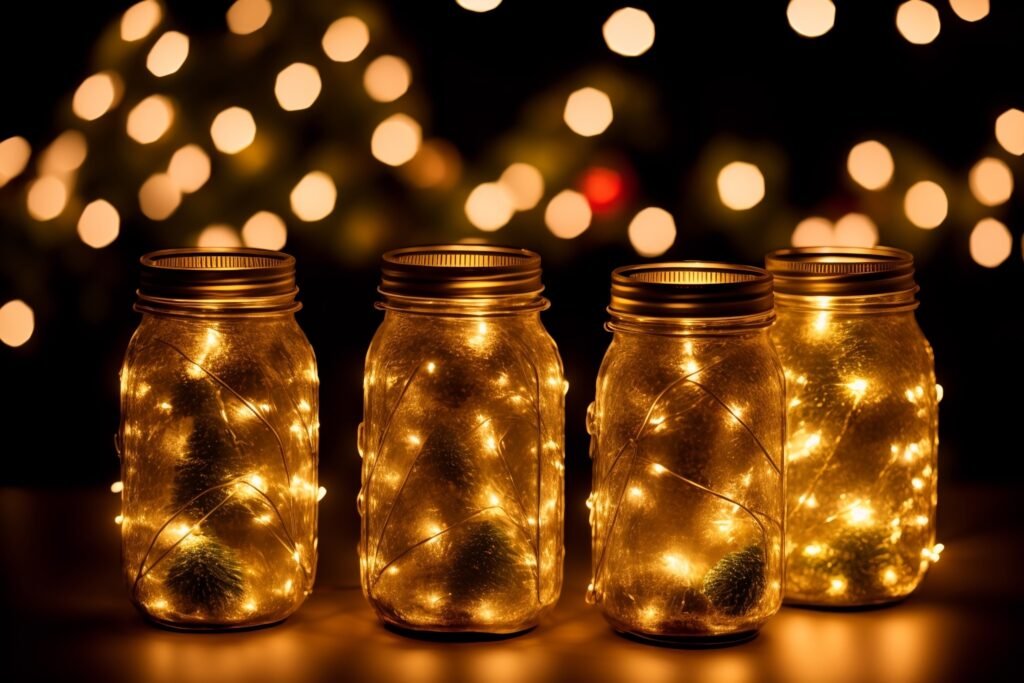
String Lights
String lights are another popular lighting option for bottle walls. These lights come in various colors and styles, allowing you to customize the ambiance to match your outdoor space. You can wrap the string lights around the bottles or drape them along the top of the wall for a whimsical and enchanting effect.
Some string lights are battery-operated, while others require an electrical outlet. Choose the option that best suits your preferences and available power sources.
Spotlights or Uplights
If you want to create a more dramatic effect, consider using spotlights or uplights to highlight your bottle wall. These lights are strategically placed on the ground or mounted on a nearby structure, projecting a focused beam of light onto the wall.
By positioning the spotlights at different angles and distances, you can play with shadows and textures, enhancing the visual impact of your bottle wall.
In Conclusion
Building a DIY bottle wall is a creative and sustainable way to add a unique touch to your outdoor decor. Not only does it make use of recycled materials, but it also brings vibrant colors and interesting patterns to your garden or patio. The construction process allows for endless design possibilities, and with the addition of creative lighting techniques, your bottle wall can become a captivating focal point day and night. So why not embark on this rewarding DIY project and let your imagination soar?
Creative Outdoor Decor: Building a DIY Bottle Wall
If you’re looking to add a unique and creative touch to your outdoor space, building a DIY bottle wall is a fantastic idea. It’s not only a sustainable way to repurpose old bottles but also an opportunity to showcase your creativity. Here’s how you can do it:
Materials Needed:
- Empty glass bottles of various shapes and colors
- Concrete or clay blocks
- Mortar mix
- Trowel
- Gloves
- Protective eyewear
Step-by-Step Instructions:
- Prepare the surface: Clean and level the area where you want to build the bottle wall.
- Arrange the bottles: Remove labels and arrange the bottles in a pattern or design of your choice.
- Mix mortar: Prepare the mortar mix according to the instructions.
- Start stacking: Apply a layer of mortar to the surface and begin stacking the bottles, pressing them firmly into the mortar.
- Continue stacking: Repeat the process, layer by layer, until you reach the desired height.
- Finish the wall: Once the wall is complete, let it dry and cure according to the mortar manufacturer’s instructions.
Building a DIY bottle wall is a fun and creative project that can transform your outdoor space into a colorful and eye-catching oasis. Get creative with different bottle shapes and colors to make your wall truly unique.
Frequently Asked Questions
Building a DIY bottle wall can be a fun and creative outdoor project. Here are some frequently asked questions about creating a bottle wall for your outdoor decor:
1. How do I start building a bottle wall?
To start building a bottle wall, you will need to gather a large number of empty glass bottles. Choose bottles of various colors, shapes, and sizes to create an interesting visual effect. Clean the bottles thoroughly and remove any labels. Then, decide on the design and layout of your bottle wall. You can either stack the bottles vertically or lay them horizontally, depending on your preference. Prepare a sturdy foundation for the wall and start placing the bottles, securing them in place with mortar or adhesive.
It’s important to plan and measure your bottle wall before starting, as this will ensure a more stable and visually appealing result. Take your time and be patient, as building a bottle wall can be a time-consuming process.
2. What materials do I need to build a bottle wall?
To build a bottle wall, you will need the following materials:
- Mortar or adhesive
- Empty glass bottles
- Foundation materials, such as bricks or concrete blocks
- Tools like a trowel, level, and gloves
Make sure to choose a strong mortar or adhesive that is suitable for outdoor use. Additionally, consider adding reinforcement materials like rebar or wire mesh to enhance the strength and stability of your bottle wall.
3. Can I use any type of glass bottles for a bottle wall?
Yes, you can use various types of glass bottles for your bottle wall. Consider using bottles of different colors to create an eye-catching mosaic effect. Wine bottles, beer bottles, and even decorative glass bottles can all be used, as long as they are clean and free of any cracks or damage. Don’t limit yourself to just one type of bottle, as mixing different shapes and sizes can add visual interest to your bottle wall.
It’s important to note that thicker glass bottles, like wine bottles, are generally sturdier and less likely to break during the construction process.
4. How do I ensure the stability of my bottle wall?
To ensure the stability of your bottle wall, it’s important to have a solid and level foundation. Use bricks or concrete blocks as the base for your wall, and ensure that it is properly leveled before starting the construction. Additionally, make sure to securely adhere the bottles to the foundation using mortar or adhesive. If desired, you can also reinforce the wall with materials like rebar or wire mesh embedded in the mortar.
Take extra precautions if you live in an area prone to strong winds or earthquakes. It’s always better to err on the side of caution and ensure the structural integrity of your bottle wall.
5. How can I maintain and clean my bottle wall?
Maintaining and cleaning your bottle wall is relatively simple. Regularly inspect the wall for any loose or damaged bottles and replace them as necessary. To clean the wall, use a soft cloth or sponge and warm, soapy water. Gently scrub the surface of the bottles to remove any dirt or grime. Avoid using abrasive cleaners or tools that can scratch the glass.
It’s also a good idea to periodically seal the bottles to protect them from UV rays and weather damage. Apply a clear sealant or varnish to the surface of the bottles to help preserve their color and prevent any potential deterioration.
To sum it up, building a DIY bottle wall is a fun and creative way to add a unique touch to your outdoor decor. Not only does it help to upcycle plastic bottles, but it also creates a stunning visual display that can be customized to suit your personal style. With a little creativity and some basic materials, you can easily create a bottle wall that will be the envy of your neighbors.
Remember to gather enough bottles of the same color or use spray paint to achieve a cohesive look. Plan your design carefully, ensuring that the bottles are securely attached to a sturdy frame. Don’t forget to clean the bottles thoroughly before using them and consider adding some decorative lights to make your bottle wall truly shine. So, roll up your sleeves, gather some bottles, and get ready to showcase your DIY skills by building a beautiful and eco-friendly bottle wall in your outdoor space!
