Introduction
Indoor gardening has become increasingly popular in recent years as a way to bring nature into our homes. It offers not only a green oasis but also a therapeutic hobby that promotes relaxation and enhances the aesthetic appeal of our living spaces. This is especially important in urban settings where outdoor space is often limited.
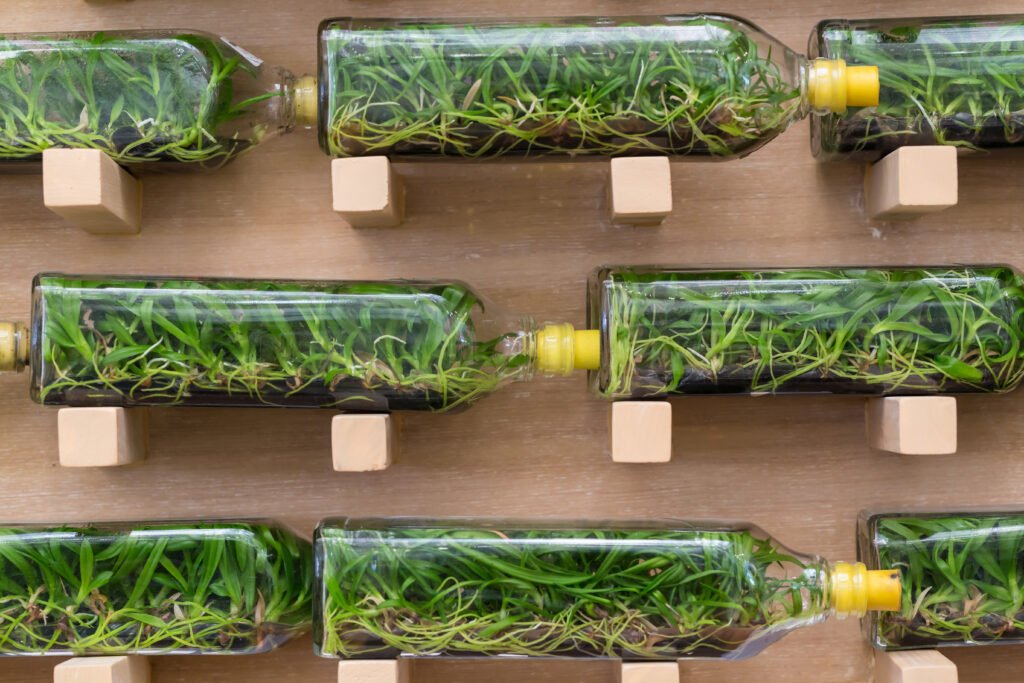
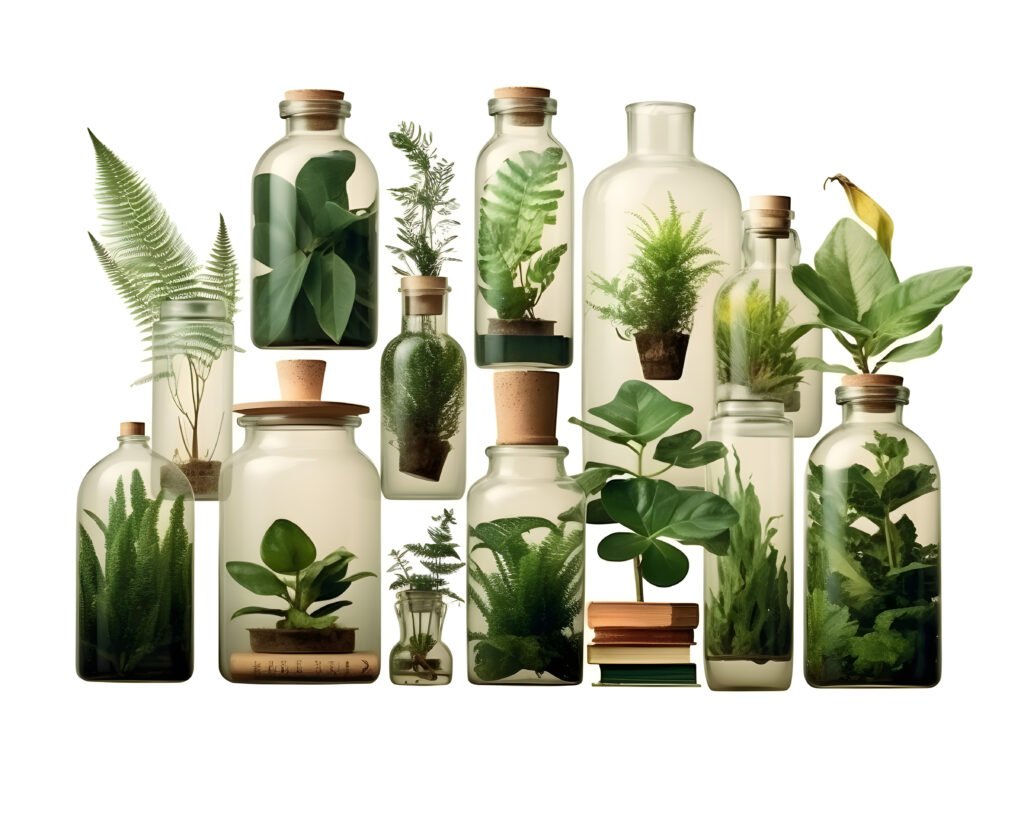
A DIY bottle garden is a simple yet effective way to engage in indoor gardening. It not only adds a unique touch to your decor but also allows you to repurpose waste items, promoting a sustainable lifestyle. Furthermore, creating a DIY bottle garden can improve indoor air quality and provide a rewarding experience that breathes life into your home.

Choosing the Right Bottle
The first step in creating your DIY bottle garden is selecting the appropriate bottle. The size and shape of the bottle will determine the types of plants you can accommodate and ultimately influence the overall aesthetic of your garden. It’s important to choose a bottle that is wide enough to allow room for growth and has a shape that complements the plants you plan to include.
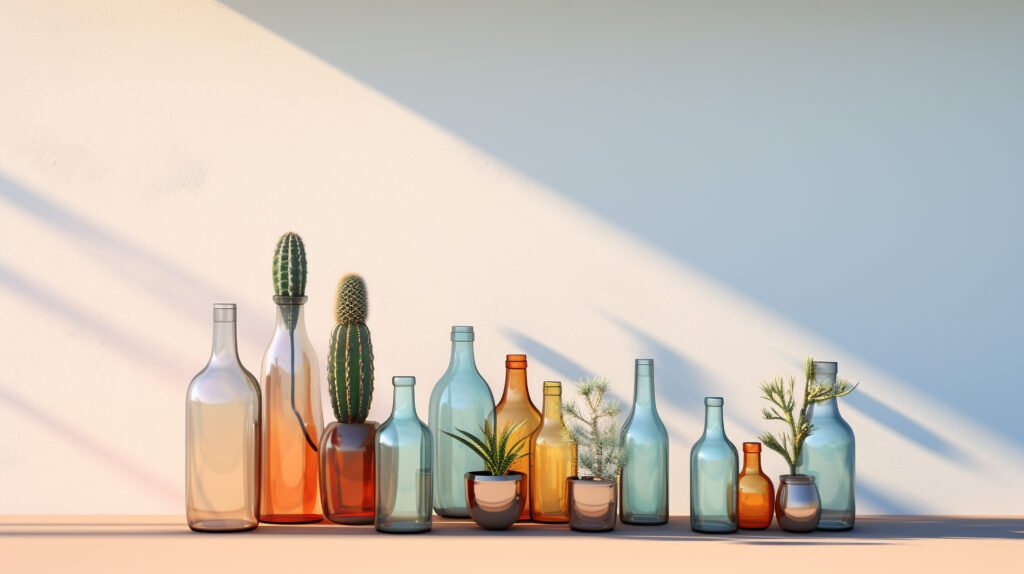
When selecting a bottle, consider both the material and transparency. Glass bottles are often preferred for their transparent nature, which allows you to easily view the progress of your garden. However, plastic bottles can also be used, especially if safety is a concern. Regardless of the material, ensure that the bottle is transparent enough to allow sunlight to reach the plants.
Preparing for bottle garden
Before you begin planting, it’s essential to thoroughly clean and sterilize the bottle to eliminate any potential contaminants. Start by washing the bottle with warm soapy water and rinse it thoroughly. To achieve sterilization, soak the bottle in a bleach solution and rinse it thoroughly afterward to ensure no harmful residue remains.
Drainage is crucial in a bottle garden to prevent waterlogged conditions that could lead to root rot. If drilling holes in the bottle is not an option or compromises the aesthetic, you can create a drainage system by adding a layer of pebbles or gravel at the bottom. This will allow excess water to escape and prevent waterlogging.
Another option to consider is the addition of activated charcoal, which can help absorb impurities and odors in the bottle. Simply place a layer of activated charcoal on top of the drainage layer to enhance the overall cleanliness of your bottle garden.
In addition, if you want to create a self-watering bottle garden, you can incorporate a wicking system using cotton ropes or fabric strips. This will help distribute water evenly throughout the soil, ensuring your plants receive adequate hydration.
By taking the time to properly prepare your bottle, you are setting the stage for a healthy and thriving bottle garden.

Overall, creating your own DIY bottle garden is a rewarding and environmentally friendly way to bring nature indoors. It allows you to exercise your creativity, promote sustainability, and enjoy the benefits of indoor gardening. In the following sections, we will delve into the remaining steps to guide you through the process of creating your own unique bottle garden. Stay tuned for Choosing Suitable Plants, Creating the Base Layer, Adding the Potting Mix, Planting the Chosen Plants, Providing Adequate Watering and Care, Placement and Lighting, Troubleshooting Common Issues, Decorating and Personalizing Your Bottle Garden, and finally, the Conclusion.
FAQs for bottle garden
1. What is a DIY bottle garden?
A DIY bottle garden is a simple and creative way to engage in indoor gardening. It involves repurposing a bottle as a container for plants, promoting sustainability and adding a unique touch to your decor.

2. How do I choose the right bottle for my DIY bottle garden?
When choosing a bottle, consider the size, shape, and material. Glass bottles are often preferred for their transparency, allowing you to easily view the progress of your garden. However, plastic bottles can also be used, especially if safety is a concern. Ensure the bottle is wide enough for plant growth and allows sunlight to reach the plants.
3. How do I prepare the bottle for planting?
To prepare the bottle, thoroughly clean and sterilize it. Wash the bottle with warm soapy water and rinse it thoroughly. To sterilize, soak the bottle in a bleach solution and rinse it afterward. Create a drainage system by adding a layer of pebbles or gravel at the bottom to prevent waterlogged conditions. Consider adding activated charcoal to absorb impurities and odors. For self-watering, incorporate a wicking system using cotton ropes or fabric strips.
4. What are the benefits of creating a DIY bottle garden?
Creating a DIY bottle garden promotes sustainability, improves indoor air quality, and enhances the aesthetic appeal of your living space. It allows you to exercise your creativity, engage in a therapeutic hobby, and bring nature indoors.


